Film SLR Guides
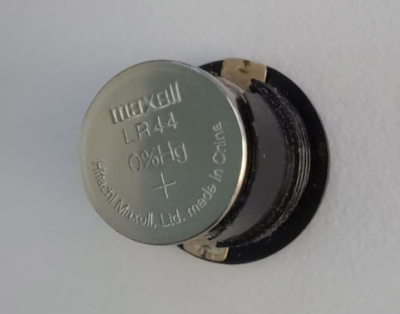
SLR Button Battery Direction and Maintainance
- take out the button batteries if not use for some time, as battery inside can grow white powder on the contact surface and ruin the contact part of battery housing inside camera
- below is a show case of Phenix brand film camera battery holder's battery placement direction with + facing to camera (different brand may differ)


Durian the roll of film
- if you dont shoot film often, you may finishing a roll of 35 shots in a span of 8 years (happened to me)
- keep film long like 1-2 year and beyond may affect the exposure of film sitting in camera, even light leak may be slight, but at span of 8 years, it will affect over exposure in long term, which still workable in my case, but the film developer shop complain hard to see and dont cut the film strip for me.
After Finishing the roll of film
- if you can't advanced any more, and shot number on camera show above 35, means your film roll is finished
- press the Rewind Release Button on the bottom, it will now be in push-in state
- turn Rewind Release Leveler without push-it-up, based on the tiny red arrow on the leveler
- you will feel smooth pulling resistance as you rewind, the suddenly feel free rotation at the end of rewind process
- pull up the Rewind Release Leveler, the back door will pop open, can take out the film roll case
- note: after close the back door, you will see the film counter = S, and Rewind Release Button on the bottom is still stuck inside;
- you just need to clock the Film Advance Leveler once, the film counter = 1, and Rewind Release Button will pop up back.
Use DSLR to scan negative and Adobe Camera RAW process
- use those film scan adapter to load film and put in front of a macro lens, with a flash/5500k light as back light source (I use my flash, tune to 1/128 at 30cm distance ok)
- Note: make sure the curly side is the Scanning Side, you may want to put it film up right, and flip horizontally in Photoshop/or Camera RAW
- load into Adobe Camera Raw,
- Flip the film horizontally (if you scan curly inside face side), rotate if needed
- Invert the Curve
- Dehaze to enhance the mute color
- Use EyeDrop to click on a white / grey area to clear film color tint
- use clarity to enhance
- use Black/White point to tune the contrast and exposure
- final tune of contrast and exposure to your taste
 (this from meanbearmedia.com)


